A domain name is the main address people use to find your business online, and without one your website and business emails cannot work properly.
What’s the problem?
Many small business owners want to get a website online but feel stuck right at the beginning. Words like domain, hosting, and DNS are often mentioned without being properly explained, which makes the whole process feel more complicated than it really is. This confusion can lead to delays, broken websites, or emails that never work as expected.
Why this hurts your business
- Customers cannot find your business online
- Emails may not send or arrive correctly
- Your website launch keeps getting delayed
Quick fix you can do today
You can get this sorted in a few minutes by following these steps in order.
Step 1: Choose your domain name
Your domain name is your website address.
- Use your business name if possible
- Keep it short and easy to remember
- Avoid numbers, dashes, or unusual spelling
Examples:
- yourbusiness.co.uk
- yourbusiness.com
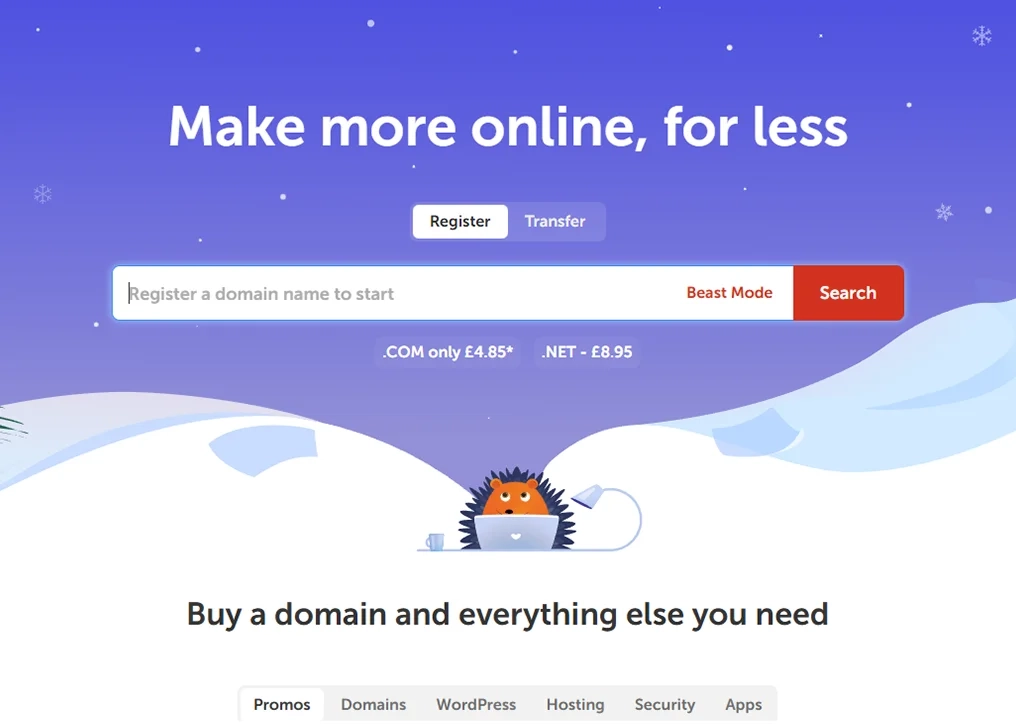
Step 2: Buy your domain name from Namecheap
Namecheap is an easy place to buy and manage your domain.
- Go to Namecheap
- Enter your domain name in the search bar
- Choose a .co.uk or .com
- Add it to your basket
- Create an account
- Complete checkout
Typical cost:
- £6–£12 per year
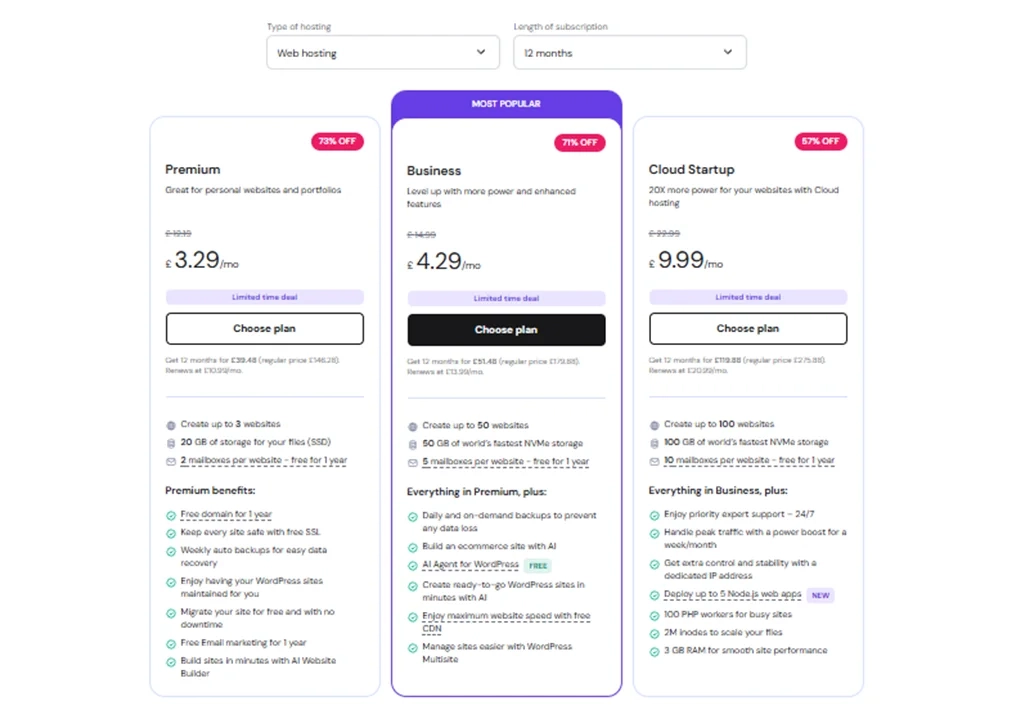
Step 3: Buy website hosting
Hosting is where your website files are stored so your site can be viewed online.
We recommend Hostinger, but there are many places you can host your website servers.
- Go to Hostinger
- Choose a basic hosting plan
- Prices usually start around £2–£4 per month
- Create an account
- Complete checkout
You do not need an advanced plan to get started.
→ Click here to learn more about hosting and how it works
Step 4: Connect your domain to your hosting
This step tells the internet where your website is hosted. You can do this in two ways. Both options can also be used to give developers access safely.
Option 1: Use nameservers
This means your hosting provider manages your DNS. This is often the easiest option if a developer is setting everything up for you, because all DNS records will be added in your hosting provider.
In Hostinger:
- Log in
- Copy the nameservers shown
In Namecheap:
- Log in
- Go to Domain List
- Click Manage next to your domain
- Find Nameservers
- Select Advanced DNS
- Paste the Hostinger nameservers
- Save changes

Option 2: Keep DNS in Namecheap and give a developer safe access
If you want to keep DNS in Namecheap, do not share your password. Instead, add the developer as a user so they can manage the domain safely.
In Namecheap:
- Log in
- Go to Account or Profile settings
- Find Users or Sharing (sub account access)
- Add the developer using their Namecheap email or username
- Give access only to the domain and DNS settings needed
Changes can take up to 24 hours, but often work much sooner.
Step 5: Update important DNS settings
These settings help make sure your business emails work correctly.
You may need to add:
- MX records for email delivery
- SPF records to reduce spam issues
- DKIM records to improve email trust
These are copied from your email provider or hosting dashboard. If these are missing or incorrect, emails may never arrive.
→ Click here to learn more about DNS settings
Step 6: Final checks
Before you finish, take a moment to:
- Turn on domain auto-renew
- Check your contact email is correct
- Save and confirm all changes
This helps prevent problems later.
Tool we recommend
Namecheap
We recommend Namecheap because it is beginner-friendly, shows clear pricing in GBP, and makes managing domain and DNS settings simple.
Affiliate link:
Click here to get started
Need help fixing this?
If this still feels confusing or you would rather have it set up properly, message us and we will help you get everything working.
Check our other posts to learn more about DNS, email setup, hosting, and website basics.